
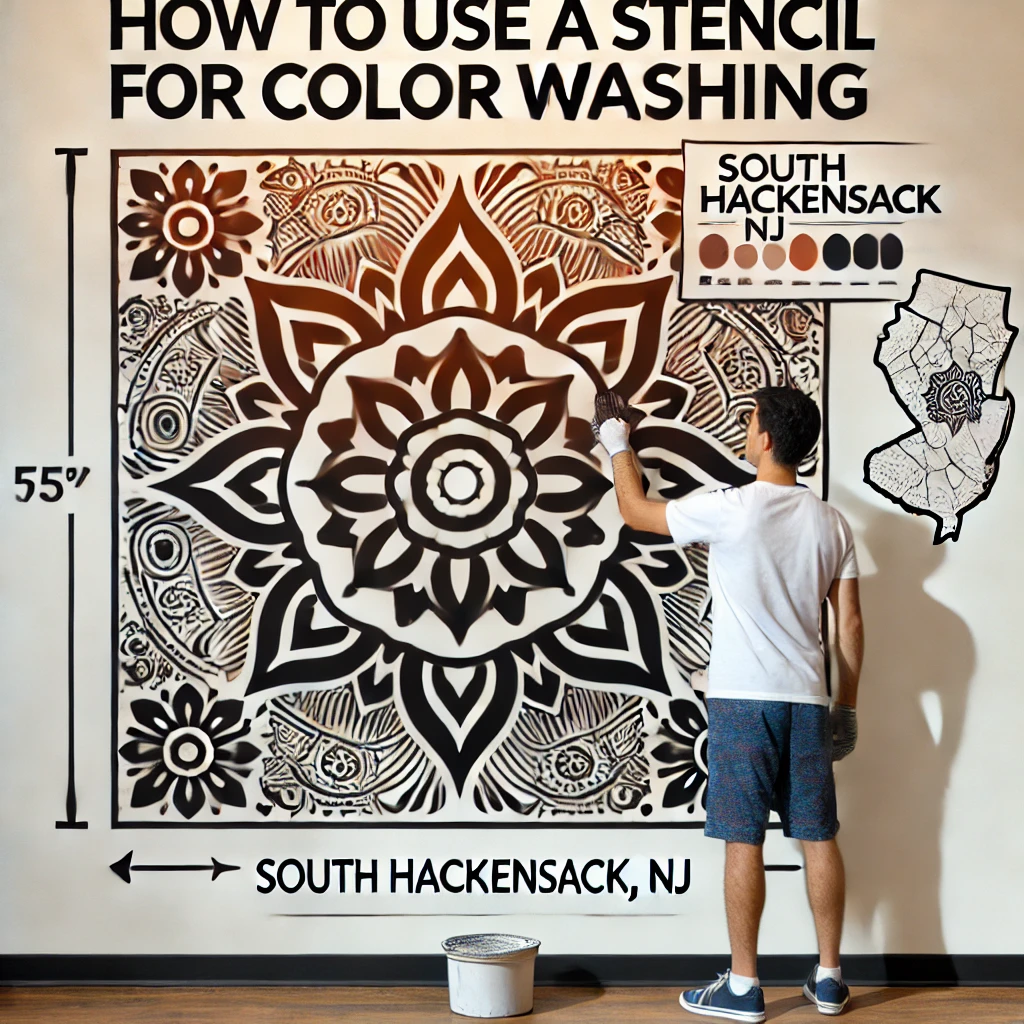
Are you looking to add a creative touch to your home decor in South Hackensack, NJ? Using stencils for color washing is a fantastic way to achieve unique and beautiful designs on your walls or furniture.
In this article, we will guide you through the process of stencil color washing, from understanding the technique to preparation and execution. We will also provide tips on advanced techniques, maintenance, and inspiration for your next project. So, grab your stencils and let’s get started!
Key Takeaways:
- Make sure to choose the right stencil and properly prepare your surface before beginning color washing to ensure the best results.
- Using multiple stencils and layering colors can create more intricate and unique designs. Don’t be afraid to experiment and have fun with it!
- Regular maintenance and proper finishing techniques will help your stenciled color wash design last longer and maintain its appearance.
Introduction to Using Stencils for Color Washing
Introduction to Using Stencils for Color Washing is a captivating process that allows for the creation of intricate designs using cutting-edge stencils.
Stencil color washing offers a versatile way to elevate any space, from accent walls to furniture pieces. Cutting Edge Stencils stands out as a leader in providing high-quality stencils and innovative techniques for achieving maximalistic designs. With their extensive range of patterns and sizes, enthusiasts can experiment with various styles and create unique visual expressions. Greg’s episode on Colorwash adds a personal touch, emphasizing the artistry and transformative power of this technique. Whether you’re a novice or an experienced DIYer, stencil color washing opens up a world of creative possibilities.
Understanding Stencil Color Washing
Understanding Stencil Color Washing involves mastering the art of blending colors seamlessly on various surfaces, such as walls or furniture, to achieve stunning Palm Fronds or other maximalistic designs.
This decorative painting technique offers a creative way to elevate any space with vibrant and intricate patterns, making a bold statement in interior design. The key to a successful stencil color washing project lies in meticulous surface preparation, ensuring a smooth and clean canvas for the colors to shine.
By using multiple colors and layering techniques, Stencil Color Washing allows for a depth and dimension that adds a touch of sophistication and luxury to the decor. The intricate patterns, like the iconic Palm Fronds, bring a tropical and exotic vibe, transforming any room into a paradise.
Benefits of Using Stencils for Color Wash
The Benefits of Using Stencils for Color Wash are manifold, ranging from creating intricate designs with captivating patterns to achieving professional-quality finishes.
Stencil color washing provides a versatile way to add depth and character to any surface, whether it’s walls, furniture, or fabrics. The ability to layer colors and textures using stencils allows for unlimited creativity and customization, resulting in unique and personalized décor.
Intricate patterns can transform a plain surface into a work of art, adding visual interest and sophistication to any space. With stencils, even beginners can easily achieve intricate designs that rival professional artists, making it a perfect option for DIY projects and home décor enthusiasts.
Preparation for Stencil Color Washing
Preparation for Stencil Color Washing is essential and involves readying the surface, gathering the necessary tools and materials, and familiarizing oneself with the techniques required for a successful color wash.
Before starting the stencil color washing process, it is crucial to ensure that the surface is clean and free of any dust, dirt, or debris. This can be achieved by washing and drying the surface thoroughly. Repairing any cracks or imperfections on the surface will contribute to a smoother finish.
In terms of tools, select high-quality brushes or rollers that are suitable for the type of surface being worked on. As for materials, acquire the desired base color paint, stencil designs, and any additional colors for the wash.
Refine your color washing technique by practicing on a small test area before applying it to the entire surface. This will help you adjust the pressure and consistency of the paint to achieve the desired effect.
Choosing the Right Stencil and Surface Preparation
Choosing the Right Stencil and Surface Preparation are crucial steps in the color washing process, ensuring that Greg’s episode on Colorwash and the selected Stencil Kit align harmoniously with the surface for optimal results.
In terms of selecting a stencil, consider the design elements, size, and intricacy to complement the overall aesthetic you wish to achieve. Greg’s detailed explanation on how different stencil patterns can create unique visual effects can guide you in making the right choice.
Prepping the surface diligently is essential for the color wash to adhere properly and create a seamless finish. Ensure the surface is clean, smooth, and dry before starting the color washing process to prevent any imperfections or uneven application.
Tools and Materials Required
The Tools and Materials Required for stencil color washing include high-quality paints, specialized brushes, and other essential tools and materials needed for effective surface preparation and application.
When embarking on a stencil color washing project, having premium-quality paints is crucial for achieving vibrant and long-lasting colors. Opt for paints specifically designed for stenciling to ensure smooth application and excellent adhesion to the surface.
- Equally important are specialized brushes that are tailored for stencil work. Look for soft-bristled brushes with varying sizes to help with intricate detailing and smooth color transitions.
- Along with paints and brushes, masking tape, drop cloths, and cleaning materials are essential for preparing the surface and keeping your workspace tidy. Proper surface preparation, including cleaning and priming, is fundamental to achieving professional-looking results.
Techniques for Stencil Color Washing
Mastering Techniques for Stencil Color Washing is made easier with a comprehensive Step-by-Step Guide that covers all aspects of preparation, surface treatment, tool usage, material selection, and application methods.
One of the crucial steps in achieving a successful stencil color wash is ensuring that the surface is properly prepped and primed to create an ideal foundation for the colors to adhere.
Before diving into the actual color washing process, it is essential to select the right tools such as high-quality stencil brushes or sponges to achieve the desired texture and finish.
In terms of material application, the key is to apply the paint in thin, even layers while paying attention to the pressure and angle of the brush for consistent results.
By following these techniques diligently, you’ll be able to create stunning and professional-looking stencil color wash effects on various surfaces.
Step-by-Step Guide to Color Washing with Stencils
The Step-by-Step Guide to Color Washing with Stencils, as demonstrated by Greg in his episode, offers a comprehensive walkthrough of the techniques involved, from surface preparation to the final artistic creation.
Before diving into the actual color washing process, it’s crucial to ensure that your surface is adequately prepped. Make sure to clean it thoroughly to remove any dust, dirt, or grease that may affect the final outcome.
Once the surface is clean and dry, the next step is to apply a base coat of paint. This will serve as the foundation for the color washing technique and provide a smooth canvas for your stencil patterns.
With the base coat applied and dried, it’s time to position your stencils on the surface. Secure them in place using painter’s tape or stencil adhesive to prevent any movement during the color washing process.
Tips for Detailed and Intricate Designs
Enhancing your work with Detailed and Intricate Designs adds a captivating dimension to your color wash projects, elevating the overall appeal with unique patterns that shine on prepared surfaces.
When looking into stencil color washing, it’s crucial to start with a clean and smooth surface to ensure the intricate design stands out vibrantly. Choose your stencil patterns carefully, considering their complexity and how they will complement the space.
To achieve a truly mesmerizing effect, experiment with layering different colors and shades, creating depth and dimension in your designs. Don’t rush the process; take your time and work meticulously to achieve precision in every detail. Remember, the beauty of stencil color washing lies in the artful combination of design intricacy and flawless execution.
Advanced Tips for Stencil Color Washing
Exploring Advanced Tips for Stencil Color Washing unlocks the potential of layering colors, utilizing multiple stencils, and perfecting finishing techniques for long-lasting maintenance.
In terms of layering colors, the trick is to start with lighter shades and gradually build up to darker hues, creating depth and dimension. This technique adds richness and complexity to your stencil projects.
- For multi-stencil applications, strategic placement is key. Consider how different stencils can interact to form cohesive patterns or intricate designs.
- For a flawless finish, seal your color-washed stencils with a clear topcoat to protect the surface and enhance durability.
Regular cleaning with a gentle cleanser and proper storage can extend the lifespan of your stenciled surfaces, maintaining their vibrant colors.””
Layering Colors and Using Multiple Stencils
Mastering the Art of Layering Colors and Using Multiple Stencils elevates the complexity and visual richness of stencil color washing projects, requiring meticulous preparation and surface adaptation.
Layering colors and employing multiple stencils in stencil color washing is a strategic process that involves a deep understanding of color variations and stencil coordination. The key lies in prepping the surface meticulously, ensuring proper adhesion and clean lines for each layer applied. By carefully selecting complementary hues and intricate stencil designs, artists can create captivating visual effects that add depth and dimension to their work. This intricate technique demands attention to detail and patience, but the end result is a masterpiece that reflects the dedication put into surface optimization and color layering.
Finishing and Maintenance
Ensuring Proper Finishing and Maintenance practices post-stencil color washing is essential for preserving the integrity and aesthetics of the design, requiring the use of suitable tools and materials.
After completing the stencil color washing, the next step involves enhancing the durability and visual appeal of the design. To achieve this, it is imperative to apply a protective topcoat over the dried stencil colors. This topcoat acts as a shield against abrasion, UV rays, and weathering, extending the lifespan of the design.
Regular cleaning and inspection are vital maintenance procedures. Make sure to use gentle cleansers and soft cloths to wipe down the surface gently to prevent any damage to the design. Inspecting for any signs of wear or fading and addressing them promptly is crucial to maintain the design’s vibrancy.
Inspiration and Ideas for Stencil Color Washing
Unleashing Inspiration and Ideas for Stencil Color Washing entails exploring diverse color combinations, experimenting with different surfaces, and creating captivating designs that breathe life into your surroundings.
Imagine a canvas where every brushstroke of color transforms a plain surface into a work of art; this is the essence of stencil color washing. The magic of this technique lies in the infinite possibilities it offers – from soft pastels to bold primaries, each hue telling a unique story. By incorporating bold contrasts or subtle harmonies, you can evoke various emotions and alter the mood of a space effortlessly.
When embarking on a stencil color washing project, the preparation stage is crucial. Ensuring your surface is clean, primed, and ready to absorb the colors will significantly impact the final result. Whether it’s a smooth wall begging for a modern twist or textured furniture yearning for a new look, the diversity of surfaces available for experimentation is vast.
Exploring Color Combinations and Surfaces
Dive into the Realm of Exploring Color Combinations and Surfaces to unlock the potential of creating captivating stencil color wash designs across a diverse range of settings, emphasizing the importance of thorough preparation.
When embarking on a stencil color washing project, color exploration plays a pivotal role in setting the mood and tone of the design. Selecting the right palette can evoke emotions, create harmony, or introduce a striking contrast.
Surface diversity adds another layer of complexity, offering opportunities to experiment with textures, patterns, and finishes, enhancing the visual appeal.
The creative process involves carefully considering the interplay between colors and surfaces, envisioning how they will interact and transform the space. This thoughtful approach not only ensures a cohesive design but also unleashes the transformative power of well-chosen color combinations and surfaces.
Frequently Asked Questions (FAQs) About Stencil Color Washing
Addressing Frequently Asked Questions (FAQs) About Stencil Color Washing sheds light on crucial topics such as selecting the right stencil, recommendations for paints and brushes, and techniques for ensuring symmetry and neatness in designs.
One common query that arises is how to choose the perfect stencil for a project. The key is to consider the design complexity, size, and desired outcome. In terms of selecting paints, opting for high-quality, pigmented acrylic paints can significantly enhance the vibrancy and durability of the colors. As for brushes, soft bristle brushes are recommended for blending and shading, while stencil brushes with a flat top are ideal for precise detailing and minimal paint bleeding.
Choosing the Right Stencil and Surface Preparation
Selecting the Perfect Stencil and Ensuring Adequate Surface Preparation are foundational steps in the stencil color washing process, as exemplified in Greg’s insightful Episode with the utilization of Stencil Kits for optimal results.
When embarking on a stencil color washing project, the stencil design plays a crucial role in determining the final look of your painted surface. Choosing the right stencil can make all the difference in achieving a professional finish.
Greg’s Episode not only highlighted the significance of selecting a suitable stencil but also emphasized the need for thorough surface preparation. Surface preparation involves tasks such as cleaning, priming, and ensuring a smooth, even base for the stencil application. These preparatory steps are essential for the Stencil Kits to deliver the desired outcomes effortlessly.
Paints and Brushes Recommendations
Providing Expert Paints and Brushes Recommendations is essential for successful stencil color washing, emphasizing the selection of high-quality paints and brushes that complement the preparation and surface requirements.
In terms of paint selection for stencil color washing, water-based acrylic paints are often the preferred choice due to their versatility and fast drying time. These paints offer excellent coverage and are easy to clean up, making them ideal for stencil applications.
For brushes, opting for high-quality synthetic bristle brushes with a flat or angled edge can help achieve crisp and clean lines when working with stencils. The brush size should be chosen based on the intricacy of the stencil design, ensuring precise application.
Before painting, thorough surface preparation is crucial. Make sure to clean the surface properly, sand any rough areas, and apply a suitable primer to enhance adhesion and durability of the paint.
Ensuring Symmetry and Neatness in Designs
Achieving Symmetry and Neatness in Stencil Color Washing Designs requires meticulous attention to detail, effective techniques, and adherence to thorough preparation principles for flawless outcomes on various surfaces.
One of the crucial aspects when aiming for symmetry and neatness in stencil color washing designs is the use of consistent pressure during application. Ensuring a steady and uniform pressure across the stencil helps in achieving a balanced and coherent design. Additionally, mastering brush techniques such as stippling or swirling motions can greatly enhance the precision and beauty of the final result.
Before beginning the color washing process, it is essential to properly clean and prepare the surface. Surface preparation includes smoothing out any imperfections, filling in cracks or dents, and priming the area for optimal paint adhesion.
Frequently Asked Questions
How do I prepare my walls for color washing using a stencil in South Hackensack NJ?
Before beginning the color washing process, make sure to clean your walls thoroughly and remove any imperfections such as bumps or holes. Prime the walls with a high-quality primer to ensure the best adhesion for your stencil and paint.
What type of stencil should I use for color washing in South Hackensack NJ?
It is recommended to use a high-quality plastic or mylar stencil for color washing. These materials are durable and easy to clean, allowing for multiple uses. Avoid using paper stencils as they may become wet and tear during the color washing process.
How do I secure my stencil to the wall for color washing in South Hackensack NJ?
Use painter’s tape or adhesive spray to secure your stencil to the wall. Make sure to press down firmly on the edges of the stencil to prevent any paint from seeping underneath.
What type of paint should I use for color washing in South Hackensack NJ?
It is recommended to use water-based or latex paint for color washing. These types of paint are easy to work with, and any mistakes can be easily corrected by wiping away with a damp cloth.
How do I achieve a gradient effect with color washing using a stencil in South Hackensack NJ?
To achieve a gradient effect, use a damp cloth to blend the paint colors together in a circular motion. Start with the darkest color at the edges of the stencil and gradually blend in the lighter colors towards the center.
Can I use multiple stencils for color washing in South Hackensack NJ?
Yes, you can use multiple stencils to create intricate patterns and designs. Just make sure to align them properly and secure them in place before beginning the color washing process.