
If you are seeking to enhance the appearance of your stucco or textured walls in Englewood, NJ, utilizing a paint roller can serve as a rapid and efficient method to provide your walls with a fresh coat of paint.
Before commencing the painting process, it is imperative to confirm the availability of the requisite tools and to adequately prepare the wall surface.
This article will delve into the essential tools required, guidelines for wall preparation, a detailed outline of the step-by-step process for utilizing a paint roller, recommendations for achieving success, and procedures for post-painting cleanup. Let us commence with the exploration of these insights.
What Tools Do You Need To Use A Paint Roller On Stucco Or Textured Walls?
When initiating a painting project in Englewood, NJ, particularly on stucco or textured walls, it is imperative to ensure the availability of appropriate painting tools and supplies to attain a professional outcome.
1. Paint Roller
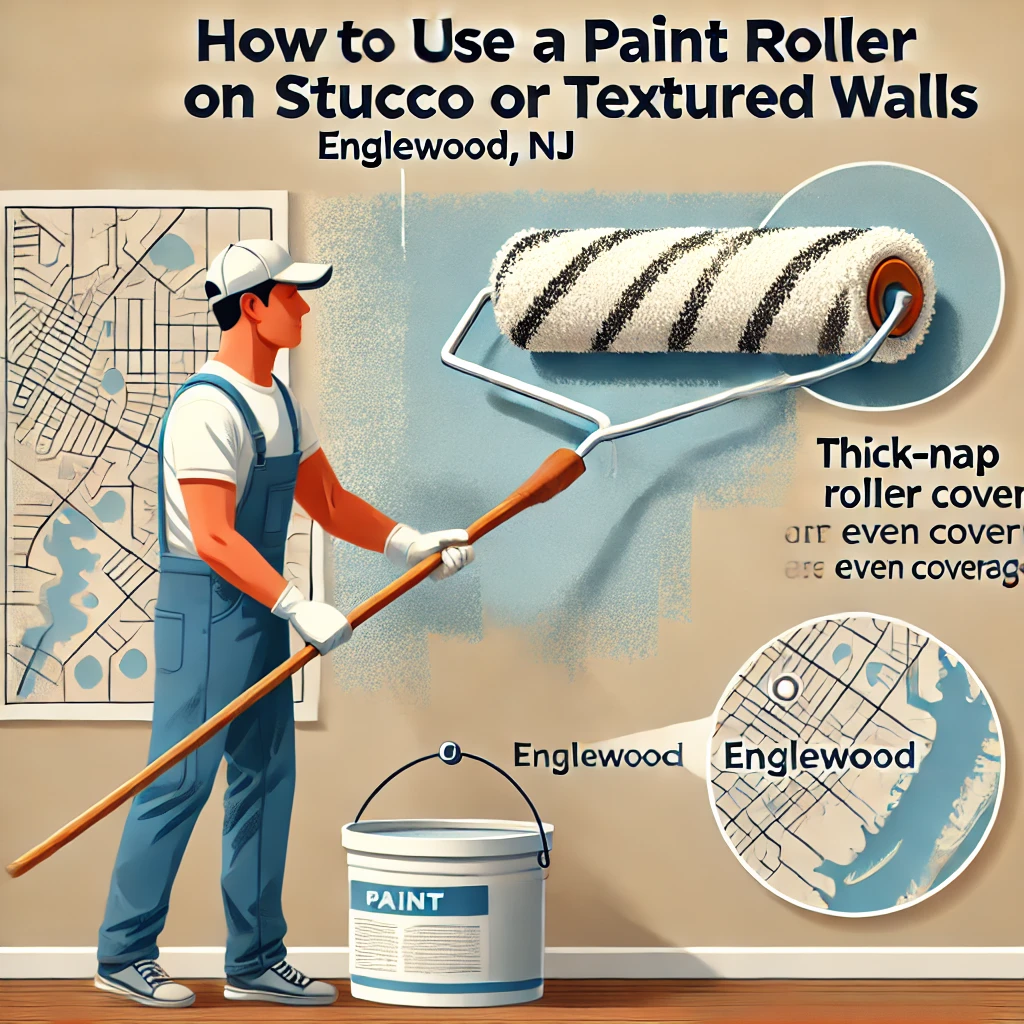
The utilization of a paint roller, along with the appropriate roller cover and frame, is essential for effectively painting textured surfaces such as stucco.
The roller cover, typically composed of materials like synthetic fibers or lambswool, serves the purpose of absorbing paint uniformly and dispensing it onto the surface for a consistent finish.
The frame of the paint roller provides essential support to the cover, facilitating smooth rolling over the surface. Additionally, the handle of the paint roller is designed to offer the user a comfortable grip, enabling consistent pressure application during the painting process.
When these components are combined, they function cohesively to ensure even paint application, ultimately leading to a professional-quality outcome.
2. Paint Tray
The utilization of a paint tray is essential for the efficient distribution of paint onto a roller, facilitating the loading of paint and ensuring a consistent application process.
Employing a paint tray serves to mitigate the risks of paint dripping and spilling, providing a stable reservoir for the containment of paint. The design of the paint tray is conducive to achieving uniform paint coverage on the roller, thereby contributing to a seamless finish on walls or other surfaces. Moreover, it enables precise regulation of the paint quantity on the roller, thus minimizing the likelihood of overloading and resulting in uneven application. In essence, a paint tray represents a pragmatic and effective instrument for attaining refined paint outcomes with professional finesse.
3. Paintbrush
A paintbrush serves a crucial role in reaching confined spaces and wall corners that may not receive adequate coverage from a paint roller. The delicate bristles of a paintbrush facilitate precise paint application in areas like window frames, baseboards, and intricate moldings.
Utilizing a paintbrush in conjunction with a paint roller guarantees comprehensive coverage on all surfaces, resulting in a professional-looking finish for your painting project. The adaptability of a paintbrush allows for the creation of intricate designs or accents, imparting a personalized touch to walls or furniture.
When employed with the correct technique, the paintbrush complements the paint roller, establishing them as a proficient pair for any painting endeavor.
4. Drop Cloths
The use of drop cloths is essential in safeguarding floors and furniture against paint drips and spills, thereby ensuring a clean and secure working environment. They serve as a protective barrier between valuable belongings and potential damage that may occur during the painting process. By strategically positioning drop cloths in areas prone to risk, such as beneath the painting area or along baseboards, accidents can be averted, and the effort required for cleanup minimized.
Investing in high-quality drop cloths is not only a matter of protection but also one of efficiency. The proper application of drop cloths demonstrates attention to detail and adherence to established professional painting safety protocols, leading to a more streamlined and organized painting process.
5. Painter’s Tape
Painter’s tape serves as a valuable tool in the painting process by effectively masking off areas that are not intended for paint application, thereby facilitating the creation of neat lines and achieving a professional finish. This versatile tool demonstrates exceptional proficiency in delivering sharp edges when painting walls, trim, or furniture. By securely sealing the tape’s edges, the occurrence of paint seepage is minimized, ensuring a clean and precise outcome.
Whether one is an avid DIY enthusiast or a seasoned professional painter, the utilization of painter’s tape proves to be advantageous in saving both time and effort by mitigating the necessity for subsequent touch-ups. Its user-friendly nature and effortless removal render it a popular choice across a myriad of projects, offering a straightforward yet efficient means of attaining impeccable results.
6. Ladder
A ladder plays a crucial role in facilitating access to elevated areas of walls and ceilings, enabling a comprehensive and uniform application of paint.
The absence of a secure ladder can render the task of painting high or hard-to-reach surfaces perilous. Utilizing a properly positioned ladder establishes a stable foundation for the painter to operate from, ensuring both safety and productivity.
Before each use, it is imperative to conduct a thorough inspection of the ladder to validate its stability and condition. A robust ladder serves as a preventive measure against accidents and injuries, instilling confidence in the painter while working at elevated altitudes.
Beyond safety considerations, a sturdy ladder also contributes to the execution of smoother painting strokes and enhanced overall outcomes, thereby simplifying the task and yielding a more professional appearance.
How To Prepare The Wall For Painting?
Adequate surface preparation is paramount to ensuring optimal adhesion of paint onto stucco or textured walls, thereby delivering a durable and polished final outcome.
1. Clean The Wall
The initial step in surface preparation involves cleaning the wall to eliminate dirt, dust, and grease, thereby ensuring proper adhesion of the paint.
- Utilizing a mixture of warm water and mild detergent serves as an effective method for cleaning walls before painting. A soft sponge or cloth should be employed to delicately scrub the surface, guaranteeing the removal of all contaminants.
- In instances of more stubborn stains, a solution consisting of vinegar and water may be more suitable. It is crucial to thoroughly rinse the walls with clean water post-cleaning to prevent any residue from affecting the paint application.
Following the walls being cleaned and dried, any holes or cracks should be filled and sanded to establish a smooth surface conducive to painting.
2. Repair Any Damages
It is imperative to address any structural damages, such as cracks or holes, in the wall to establish a uniform surface conducive to painting.
A prevalent method for rectifying wall imperfections involves the utilization of spackling compound or joint compound to fill in cracks or holes. These fillers serve to even out the surface, creating a sturdy foundation for painting purposes.
Before the application of the filler, thorough cleaning of the affected area is essential to eliminate debris and ensure optimal adhesion. Subsequently, the sanded areas post-filler application are pivotal in achieving a seamless and polished outcome. Additionally, the use of mesh tape on larger perforations can fortify the repair work and mitigate the risk of future cracking.
By adhering to these procedures, one can achieve a flawless wall surface that is primed for a fresh coat of paint.
3. Apply Primer
The application of a primer to stucco or textured walls serves to seal the surface, establishing a consistent foundation for the subsequent paint application.
Primer assumes a critical function in the painting process by establishing a protective barrier between the surface and the paint, facilitating improved adhesion and preventing the paint from permeating the porous texture of the stucco. This sealing property not only enhances the longevity of the paint job but also guarantees a more uniform application, resulting in a smoother and more professionally executed finish.
The use of a primer can effectively conceal surface imperfections such as minor cracks or uneven areas, contributing to a refined final aesthetic.
How To Use A Paint Roller On Stucco Or Textured Walls?
Applying paint to stucco or textured walls using a paint roller necessitates employing specific techniques to achieve uniform coverage and a polished final appearance.
1. Choose The Right Roller Cover
Selecting the appropriate roller cover is essential in ensuring uniform coverage on textured walls or stucco surfaces, with the nap length playing a critical role in the application of paint.
Roller covers are available in various nap lengths, including 1/4-inch, 3/8-inch, and 1/2-inch, each tailored to specific purposes. For smooth surfaces like flat walls, a shorter nap length such as 1/4-inch is optimal to minimize splatter and achieve a consistent result. Conversely, for extensively textured surfaces like stucco or brick, a longer nap length of 3/8-inch or 1/2-inch is advised to facilitate paint penetration into crevices and effectively cover the irregular surface.
2. Load The Roller With Paint
Properly loading the roller with paint is essential to ensure an adequate amount of paint for a uniform application without drips or excess.
To initiate the process, it is recommended to pour a substantial amount of paint into the paint tray, ensuring that it is neither too shallow nor overly full. Subsequently, the roller should be gently rolled back and forth in the paint, ensuring an even coat. Utilize the ridges present in the paint tray to eliminate any surplus paint by rolling the roller over them. This step is pivotal in preventing the roller from being overloaded, which could result in uneven coverage and drips. Once the roller is uniformly coated, you are prepared to commence painting with precision and efficiency.
3. Apply The Paint In A W Pattern
The application of paint in a W pattern is a method that facilitates even distribution of paint across a surface, thereby minimizing the possibility of streaks and ensuring thorough coverage.
This technique entails commencing the painting process at the top of the surface and progressing downwards in a zig-zag movement, forming a W shape with each stroke. By slightly overlapping each pass of the W, the paint can be applied consistently without the occurrence of unsightly lines or buildup. The utilization of the W pattern also serves to prevent drips and sags in the paint, resulting in a finish that exudes a professional quality.
This approach proves to be particularly advantageous when working on larger surfaces or when handling paints that dry rapidly, as it allows for efficient coverage and the attainment of a uniform appearance across the entire area.
4. Roll Over The Paint In A V Pattern
Utilizing a V pattern when rolling over the paint subsequent to the initial application is beneficial for blending the paint and eliminating any surplus, thereby ensuring a consistent finish.
This method proves to be highly effective in attaining a smooth and uniform coat of paint on the surface. Employing the V pattern helps painters avoid streaks or irregular patches that frequently arise from using straight strokes. The diagonal motion of the roller facilitates an even distribution of the paint, resulting in a polished and professional finish. By adopting this technique, the paint is spread more evenly, minimizing the risk of drips or clumping. Integrating the V pattern into the painting process enhances the overall aesthetic appeal of the painted surface and enhances the quality of the final project.
5. Repeat Until The Wall Is Covered
The application of paint should be continued using the W and V patterns, repeating this procedure until the entire wall is covered with an even coat of paint.
This step is essential for achieving a seamless finish on the walls. Consistency in the application of these patterns ensures that each section of the surface receives a uniform amount of paint, thereby preventing any patchy or uneven areas. By systematically repeating this technique, it can be ensured that the paint is evenly distributed, resulting in a uniform and professional appearance on the wall surface.
Maintaining consistency in the painting technique is crucial for achieving a refined and flawless final outcome. The additional time and effort invested in these repetitive motions are truly worthwhile for achieving a polished result.
What Are The Tips For Using A Paint Roller On Stucco Or Textured Walls?
When applying paint to stucco or textured walls using a paint roller, one may encounter challenges. However, by employing appropriate tips and techniques, one can attain exceptional results.
1. Use The Right Amount Of Paint
Achieving optimal paint application on textured walls necessitates the precise amount of paint on the roller to prevent drips and ensure uniform coverage.
To determine the appropriate paint quantity for the roller, immerse it in the paint tray and proceed to gently roll it back and forth to evenly distribute the paint. Ideally, the roller should possess an even coating without excessive dripping. The hazard of drips streaking down the wall and causing an irregular finish arises when an excess of paint is used. Conversely, insufficient paint application may lead to a thin and patchy appearance. Striking a delicate balance in the amount of paint applied will yield a refined and professionally executed paint job.
2. Work In Small Sections
Working in small sections enables an individual to concentrate on attaining uniform coverage and avoids premature drying of the paint before proper blending can be achieved.
Dividing the painting project into smaller, manageable sections not only enhances control over the final result but also promotes consistency in color tones and texture across the entire surface.
Employing this method allows for breaks to be taken as necessary without interrupting the project’s continuity. It helps in preventing feelings of being overwhelmed and facilitates a comprehensive assessment of each section before progressing to the next, thereby ensuring a thorough and meticulous painting procedure.
3. Use A Paintbrush For Tight Spots
Utilizing a paintbrush for intricate spaces and wall corners ensures thorough coverage and seamless integration with the overall painted surface.
When paired with a paint roller, this method enables a seamless transition between the precise application of the brush and the broader strokes of the roller. Initiating the painting process with the brush allows for meticulous outlining and filling of intricate areas, followed by the roller for larger expanses. This sequential technique facilitates a consistent finish across the entirety of the project. Not only does this approach optimize time efficiency, but it also guarantees a polished outcome, particularly in areas that pose challenges for sole roller application.
How To Clean Up After Using A Paint Roller On Stucco Or Textured Walls?
Thorough cleaning of painting tools, particularly paint rollers used on stucco or textured walls, is imperative in preserving their longevity and functionality for subsequent painting endeavors.
1. Clean The Roller And Tray
Prompt and proper cleaning of the roller and paint tray immediately after use is essential to prevent the paint from drying and facilitate the cleanup process.
To effectively clean a paint roller, the process should commence with the removal of excess paint by scraping it off using a putty knife or an old comb. Subsequently, rinsing the roller under running water aids in eliminating a significant amount of residual paint. In cases where stubborn paint residues persist, it is advisable to soak the roller in a solution of warm water and mild soap for effective removal.
Similarly, the cleaning of a paint tray necessitates the removal of any dried paint by scrubbing with a stiff brush or scraper. A solution comprising water and vinegar can be utilized to soak the tray, effectively loosening stubborn paint stains. It is imperative to ensure thorough rinsing to eradicate all paint traces before proceeding to air-dry the roller and tray.
2. Remove Drop Cloths And Tape
Careful removal of drop cloths and painter’s tape is essential to prevent any disruptions to the freshly painted surfaces and maintain a tidy work environment.
When removing drop cloths, it is recommended to initiate the process by delicately folding them inward towards the center to confine any paint splatters and debris. This systematic approach helps in preventing loose paint from inadvertently transferring onto the floor or adjacent furniture.
Similarly, when peeling off painter’s tape, it is advisable to do so gradually at a 45-degree angle to prevent any tearing or chipping of the paint. Paying meticulous attention to detail throughout this procedure not only safeguards the quality of the paint job but also facilitates effortless cleanup. By methodically following these steps, one can achieve a flawless finish and uphold a professional appearance in the painting area.
3. Dispose Of Paint Properly
The proper disposal of leftover paint and cleaning solutions is imperative for environmental safety and adherence to local regulations.
An initial step in the appropriate disposal of paint is to identify whether it is latex or oil-based, as this will determine the correct disposal approach. Latex paint can often be solidified by allowing the can to remain open in a well-ventilated space until it hardens, after which it can be disposed of in the general waste. Conversely, oil-based paint is classified as hazardous waste and should be taken to a household hazardous waste collection facility.
Numеrоus lосаl municipalities provide rесусling programs for paint, in which usable paint is reprocessed and redistributed, thereby reducing waste. It is essential to consult with lосаl waste management аuthоritiеs for precise guidelines on paint disposal to ensure compliance with the appropriate procedures.
Frequently Asked Questions
1. Can I use a paint roller on stucco or textured walls in Englewood, NJ?
Yes, a paint roller is the most effective tool for painting stucco or textured walls in Englewood, NJ. It allows for even coverage and helps to reach all the nooks and crannies of the textured surface.
2. How do I prepare the stucco or textured walls before using a paint roller?
Before using a paint roller, it is important to clean the surface of any dirt, grease, or loose particles. You can use a pressure washer or a mixture of water and mild detergent to thoroughly clean the walls.
3. Should I use a specific type of paint roller for stucco or textured walls?
Yes, it is recommended to use a 3/4 inch nap roller for stucco or textured walls in Englewood, NJ. This type of roller has longer fibers that can reach into the crevices of the textured surface for better coverage.
4. How do I load the paint onto the roller for stucco or textured walls?
To load the paint onto the roller, dip it into the paint tray and roll it back and forth until the roller is evenly coated. Make sure to remove any excess paint by rolling it over the ridges of the tray.
5. Can I use the same paint roller for multiple colors on stucco or textured walls?
If you are using water-based paints, you can rinse the roller with water and dry it off completely before using a different color. However, for oil-based paints, it is recommended to use a separate roller for each color to avoid contamination.
6. How do I achieve a smooth finish on stucco or textured walls with a paint roller?
To achieve a smooth finish, you can lightly roll over the painted surface with a clean and dry roller. This will help to even out any excess paint and create a more uniform texture.