
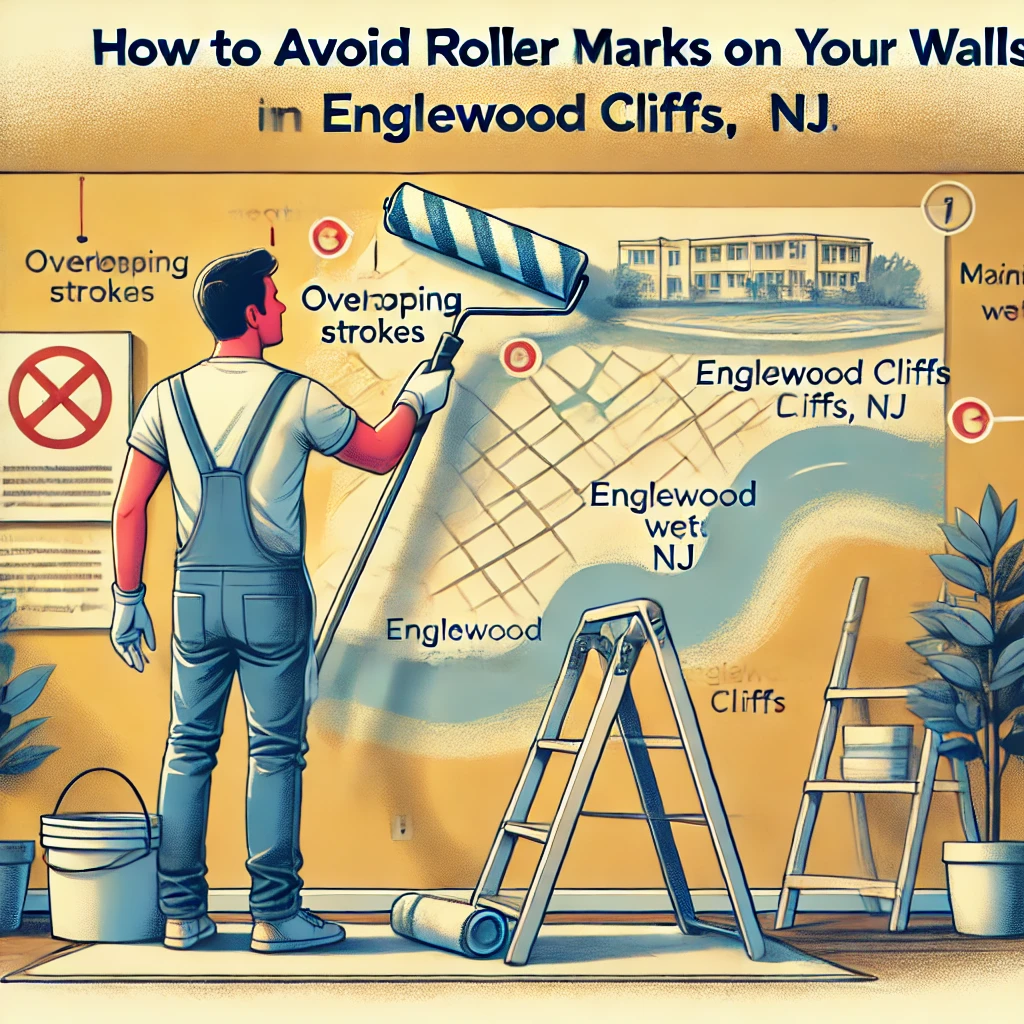
Are you experiencing the frustration of observing roller marks on newly painted walls in Englewood Cliffs, NJ?
This analysis delves into the reasons behind the appearance of roller marks and the essential tools required to prevent them. It includes a discussion on the most suitable type of roller and paint for achieving smooth walls, as well as other tools necessary for achieving a flawless finish. Moreover, it offers guidance on preparing walls, techniques to avoid roller marks during the painting process, and methods to rectify roller marks if they do manifest. By acquiring this knowledge, you can ensure that roller marks do not detract from the quality of your paint job and achieve a professional-looking finish.
Why Do Roller Marks Appear on Walls?
Roller marks, often known as ‘lap marks,’ manifest on walls as a consequence of improper roller painting techniques, inconsistent roller pressure, or the utilization of substandard roller covers during painting endeavors, resulting in discernible lines and streaks on the wall surface.
An incorrect roller technique frequently accounts for the appearance of roller marks, wherein a painter may fail to maintain a uniform level of pressure while rolling, resulting in uneven coverage. Moreover, the use of rollers crafted from inferior materials or worn-out roller covers can exacerbate the matter by depositing debris or fibers that adhere to the wall, culminating in unsightly marks. These factors collectively contribute to an absence of uniformity in paint application, thereby impacting the overall aesthetics and final appearance of the project.
What Tools Do You Need to Avoid Roller Marks?
To prevent roller marks during the painting process, it is imperative to carefully choose the appropriate painting tools. This selection should include high-quality paint rollers, sturdy roller frames, and suitable roller covers. When utilized collectively, these tools facilitate an even distribution of paint and contribute to the achievement of a seamless finish on walls.
What Type of Roller is Best for Smooth Walls?
To achieve a smooth finish on walls, it is recommended to utilize a paint roller with a short nap measuring between 1/4 to 3/8 inch. These rollers, crafted from high-quality materials, are specifically engineered to provide uniform paint coverage on smooth surfaces.
Short nap paint rollers prove to be optimal for smooth walls due to their capacity to hold a lesser quantity of paint and disperse it evenly, thereby minimizing the occurrence of drips and ensuring uniform coverage. The utilization of high-quality roller materials such as microfiber or sheepskin guarantees both durability and consistent performance.
In terms of roller size, selecting a standard 9-inch roller is advised for the majority of wall painting endeavors as it offers a harmonious blend of coverage and maneuverability. These considerations, in conjunction, facilitate the creation of a professional-looking finish with minimal exertion.
What Type of Paint is Best for Avoiding Roller Marks?
Utilizing high-quality paints that provide excellent coverage and a consistent texture is essential for minimizing roller marks. Such paints facilitate smoother and more uniform application, thereby reducing the likelihood of noticeable lines and streaks.
Applying paint correctly is paramount to attaining a flawless outcome. Techniques like evenly loading the roller, maintaining consistent pressure, and feathering out edges can help prevent roller marks. Thoroughly stirring the paint and selecting an appropriate nap roller for the surface being painted are critical elements in preventing streaks and lines. By combining superior-quality paint with proper application methods, one can achieve a polished, professional-looking result devoid of unsightly roller marks.
What Other Tools Can Help Avoid Roller Marks?
The use of high-quality paint rollers, in conjunction with other tools such as painter’s tape, high-quality brushes, and paint trays, can be instrumental in preventing roller marks during painting projects. These tools aid in precise paint application and proper wall preparation, thereby contributing to a professional finish.
Painter’s tape is a critical tool for achieving clean edges and borders, reducing the likelihood of smudges and uneven lines that can lead to roller marks. High-quality brushes are essential for accessing tight corners and intricate details that may pose challenges for rollers, ensuring a consistent and uniform finish.
Paint trays are beneficial in maintaining a smooth paint flow and preventing excess buildup on the roller, which could result in undesirable roller marks. Proper wall preparation, encompassing cleaning, sanding, and priming, is essential for achieving a flawless finish by creating a smooth surface for the paint to adhere to.
Allowing adequate drying time between coats of paint is also paramount in preventing roller marks. Rushing the drying process can lead to streaks and imperfections in the final result, underscoring the importance of patience and adherence to proper painting techniques.
How to Prepare Your Walls to Avoid Roller Marks?
Thorough wall preparation is a crucial aspect in preventing roller marks during painting projects. This process entails cleaning, sanding, and priming the wall surfaces to achieve a smooth and uniform application of paint. By meticulously preparing the walls in this manner, any imperfections that might lead to noticeable streaks can be effectively addressed.
How to Clean Your Walls Before Painting?
In preparation for painting, it is recommended to cleanse the walls using a mild detergent solution and a sponge. This process effectively eliminates dirt, grease, and other contaminants, thereby establishing a clean surface that facilitates enhanced paint adhesion and a more polished finish.
It is imperative to pay particular attention to areas prone to accumulating dirt or grime, such as those near light switches, door frames, and baseboards. Subsequently, thorough rinsing of the walls with clean water is advised to eradicate any soap residue, as its presence can adversely impact paint adhesion.
Upon completion of the cleaning process and ensuring the walls are dry, a meticulous inspection should be conducted to identify any imperfections that necessitate patching or sanding. The utilization of appropriate tools such as high-quality rollers and brushes is essential to achieve a professional-grade finish, thereby mitigating the risk of roller marks manifesting on the newly painted surface.
How to Sand Your Walls Before Painting?
The preparatory step of sanding walls before painting is vital as it eliminates any irregularities, textures, or remnants of previous paint applications. This process is essential for creating a smooth surface that not only facilitates better adhesion of the new paint but also minimizes the occurrence of roller marks.
To achieve optimal outcomes during the sanding process, it is imperative to carefully choose the appropriate sandpaper based on the nature of the surface being worked on. In instances where the surface exhibits roughness or substantial imperfections, commencing with a coarse grit sandpaper is recommended to level the area. Subsequently, transitioning to a finer grit sandpaper is advised to further refine the surface and prepare it adequately for the painting phase.
During the sanding procedure, it is advisable to apply gentle pressure and execute circular motions to prevent the formation of uneven patches. Thoroughness in the sanding process is paramount to ensure a flawless finish devoid of any imperfections that could compromise the quality of the final paint application.
How to Prime Your Walls Before Painting?
Preparation of the walls through priming before painting is a crucial step in the painting process. Priming serves to establish a consistent surface for the paint to adhere to, improves the durability of the paint, and aids in the prevention of roller marks and other surface imperfections.
The utilization of a primer can prove to be a cost-effective measure in the long term by reducing the necessity for multiple coats of paint and ensuring a finish that exhibits a professional quality. When choosing a primer, it is advisable to opt for one that is compatible with both the type of paint being employed and the specific surface being treated.
Before the application of the primer, it is essential to ensure that the walls are thoroughly clean and devoid of any dust or debris. To achieve an optimal finish, it is recommended to employ a high-quality roller and to apply the primer in thin, uniform coats. This not only enhances the adhesion of the paint but also streamlines the painting process, rendering it more efficient and successful.
How to Avoid Roller Marks While Painting?
To prevent the occurrence of roller marks during the painting process, it is imperative to adhere to appropriate painting techniques. These techniques include maintaining consistent roller strokes, controlling the speed at which the roller is moved, and ensuring uniform pressure and direction. These practices, when implemented collectively, contribute to achieving a smooth and uniform finish on the surface of the wall.
What Technique Should You Use?
The optimal method for avoiding roller marks entails the application of paint in a ‘W‘ or ‘M‘ pattern. This technique ensures an even distribution and coverage of paint while minimizing the risk of visible lines and streaks.
To achieve a seamless finish using the ‘W’ or ‘M’ technique, it is imperative to maintain a consistent roller pressure throughout the painting process. This practice assists in regulating the amount of paint released onto the surface, resulting in a uniform application. It is advisable to overlap each stroke slightly with the previous one to facilitate a smooth blending of paint and prevent any abrupt lines or edges. It is recommended to work in small sections at a time and maintain a steady hand to ensure a professional-looking outcome.
How to Roll the Paint Properly?
For achieving a smooth paint finish, it is essential to begin by saturating the roller adequately with paint and using elongated, even strokes to uniformly coat the wall surface. This method ensures consistent coverage and reduces the likelihood of roller marks.
Maintaining a consistent pressure during the rolling process is critical to prevent uneven application. To attain a flawless outcome, each stroke should slightly overlap with the previous one. It is important to work in manageable sections to keep the paint wet and allow for seamless blending. Promptly smooth out any drips or excess paint to prevent any unsightly imperfections. By meticulously adhering to these techniques, one can elevate their painting project to a professional standard.
What Are Some Common Mistakes to Avoid?
Common mistakes to avoid in painting include applying excessive roller pressure, neglecting to maintain a wet edge, and utilizing low-quality rollers, all of which may result in roller marks and an irregular finish on walls.
For a flawless and uniform painting outcome, it is imperative to maintain consistent roller pressure during the entire process. Avoid exerting excessive or insufficient pressure on the roller, as this can lead to uneven paint application and the visibility of roller marks.
Preserving a wet edge is critical for circumventing lap marks and guaranteeing a seamless finish. By marginally overlapping each paint stroke with the preceding one, a seamless blend of paint layers can be achieved. Additionally, investing in premium painting equipment, such as a sturdy roller frame and high-quality roller covers, can significantly enhance the attainment of professional results.
How to Fix Roller Marks If They Appear?
When roller marks manifest on the walls, remediation can be achieved by rectifying the foundational painting errors, which may encompass inconsistent roller strokes or incorrect paint application. Subsequently, addressing these issues through touch-up work or repainting the impacted regions is advised to attain a refined and seamless surface.
How to Sand and Repaint the Area?
To address roller marks on a surface through sanding and repainting, the initial step entails lightly sanding the affected area to eliminate any imperfections and create a smooth surface. Subsequently, the application of a thin, uniform coat of high-quality paint utilizing correct roller techniques is necessary to achieve a seamless finish.
Following the sanding process, it is imperative to diligently clean the surface to eliminate any dust or debris that could compromise the adhesion of the paint. The appropriate selection of sandpaper grit is crucial, with fine-grit sandpaper, such as 120-150 grit, being recommended for the removal of imperfections. Additionally, when choosing paint, it is advisable to opt for a product specifically formulated for the surface being worked on, whether it be metal, wood, or drywall.
Lastly, it is essential to prime the surface before applying the final coats of paint to enhance durability and achieve a professional outcome.
How to Blend in the Paint?
To seamlessly blend the paint and eliminate roller marks, it is recommended to feather the edges of the touch-up area using a slightly dry roller and applying light pressure. This technique ensures that the new paint integrates smoothly with the surrounding area.
Feathering the edges is crucial for achieving a gradual transition between the new paint and the existing surface, thereby preventing noticeable demarcation lines. By using light pressure during the blending process, the paint can be applied evenly without the risk of creating additional roller marks. This method requires a delicate touch and patience to achieve a professional and flawless finish.
Through the process of feathering the edges and applying light pressure, any visible imperfections can be effectively eliminated, resulting in a seamless touch-up that seamlessly integrates with the rest of the painted surface.
When to Call a Professional?
If roller marks persist despite diligent efforts, it may be prudent to engage the services of a professional painter. A professional painter possesses the requisite skills and expertise to assess the situation and ensure a flawless finish on painting projects.
Professional painters are adept at addressing challenging painting issues, such as the removal of stubborn roller marks. They offer valuable insights into the optimal techniques and products to employ for a seamless paint application. Consulting a professional is recommended for larger painting undertakings or intricate designs necessitating precision and finesse. An esteemed painter can provide guidance on color selection, surface preparation, and maintenance to guarantee enduring results.
In the quest for a professional painter, it is advisable to peruse online reviews, solicit referrals, and review a portfolio of previous projects to evaluate the quality of their craftsmanship.
Frequently Asked Questions
1. How can I avoid roller marks on my walls when painting in Englewood Cliffs, NJ?
To avoid roller marks on your walls, make sure to use the correct type of roller for your specific wall surface. Additionally, roll the roller in a W pattern, overlapping each stroke by a couple of inches to ensure even coverage.
2. Is it necessary to use a primer before painting to prevent roller marks in Englewood Cliffs, NJ?
Using a primer before painting can help prevent roller marks, as it creates a smooth and even base for the paint to adhere to. However, if you are using a high-quality paint with a built-in primer, you may be able to skip this step.
3. How can I ensure that my paint is properly mixed to avoid roller marks on my walls in Englewood Cliffs, NJ?
Before starting to paint, make sure to thoroughly stir the paint to ensure that all the pigments are evenly distributed. This will help prevent roller marks and create a seamless finish on your walls.
4. Should I use a specific type of paint to avoid roller marks on my walls in Englewood Cliffs, NJ?
When painting walls, it is important to use a high-quality paint with a flat or matte finish. These types of paint are less likely to show roller marks and will provide a smooth and even coverage on your walls.
5. Can using too much pressure when rolling cause roller marks on my walls in Englewood Cliffs, NJ?
Yes, applying too much pressure when rolling can cause roller marks on your walls. It is important to use a light and consistent pressure when painting to ensure an even and smooth finish.
6. Are there any techniques I can use to blend in roller marks on my walls in Englewood Cliffs, NJ?
If you do end up with roller marks on your walls, you can try using a technique called feathering. This involves lightly rolling over the marked area with a dry roller to blend in the marks and create a seamless finish.