
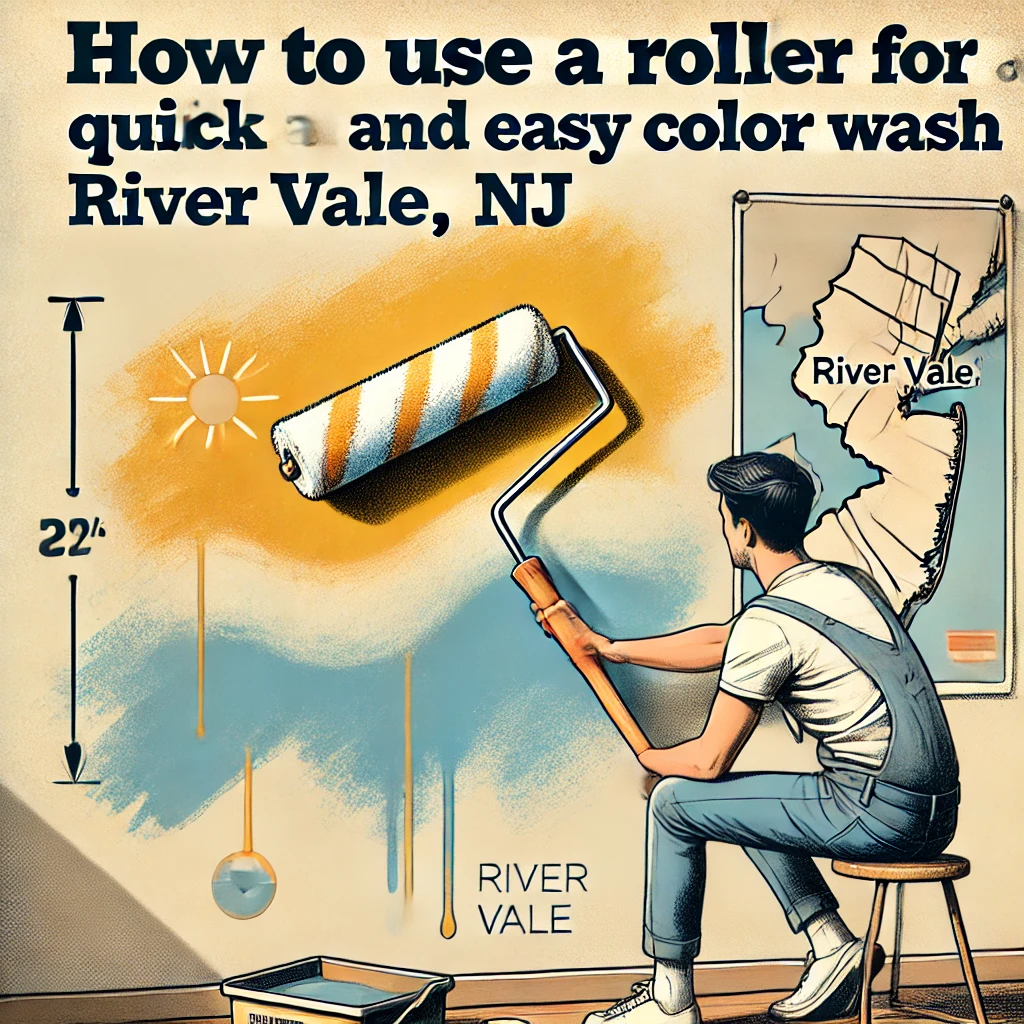
Are you looking to give your walls a fresh new look with a color wash technique? Using a roller for a color wash is a quick and easy way to achieve a beautiful finish. In this article, we will guide you through the process of preparing for a color wash, choosing the right roller, applying the base coat, creating the color wash effect, finishing touches, and more.
Whether you are a DIY enthusiast or looking for professional help in River Vale, NJ, we have got you covered. Let’s get started!
Key Takeaways:
- Choose the right roller and prepare the surface properly before starting a color wash to ensure a smooth and even application.
- Mixing and applying the base coat is crucial for achieving the desired color wash effect. Take your time and use complementary colors for best results.
- To avoid common mistakes, do not overload the roller and clean it properly between coats. Advanced techniques such as creating texture can add unique touches to your color wash.
Introduction to Using a Roller for a Color Wash
Embark on a creative journey with Caitlin Sole’s innovative approach to painting techniques using a roller for an exquisite color wash.
Imagine a blank canvas, not just confined to a traditional artist’s easel, but transforming an entire wall into a masterpiece under Caitlin Sole’s guidance. Her artistry unfolds through a meticulous selection of hues that blend seamlessly as the roller glides across the surface. Creating a mesmerizing visual feast, the colors converge and diverge like a dance, each shade enhancing the other in a harmonious symphony. The fluid motion of the roller imbues the space with a textured depth, amplifying the ambience and transforming the ordinary into an extraordinary work of art.
Preparing for a Color Wash
In preparation for a color wash project, ensure a smooth and flawless finish by following Marcus Reeves’ easy step-by-step guide.
Begin by thoroughly cleaning the surface to remove any dirt, dust, or grease which may affect the adhesion of the color wash.
Use a mild detergent and water solution or a suitable cleaner, followed by rinsing and allowing it to dry completely.
Applying a primer is crucial for promoting adhesion and ensuring the color wash adheres uniformly across the surface.
Select a primer appropriate for the type of surface you are working on, such as latex primer for drywall.
Utilize high-quality brushes and rollers for a smooth application, ensuring even coverage and a professional-looking finish.
Choosing the Right Roller
Selecting the right roller for your color wash project is crucial to achieve a seamless finish across a large area of the surface.
When determining the appropriate roller, consider the size of the area you are painting. For larger expanses, a wider roller can cover more ground efficiently, saving you time and effort. Conversely, for intricate details or smaller areas, a narrower roller allows for better precision and control.
Surface texture is another critical factor to keep in mind. Rough surfaces may require a roller with thicker nap to ensure proper paint coverage and adherence, while smoother surfaces can be tackled with a smoother roller to achieve a uniform finish.
Your desired finish plays a significant role in roller selection. If you aim for a textured finish, a textured roller can create patterns and depth, whereas a smooth finish typically requires a shorter nap roller for a sleek appearance.
Preparing the Surface for Painting
Before diving into the color wash technique, it’s essential to meticulously prepare the surface by cleaning, sanding, and applying a suitable base coat for optimal results.
Surface preparation sets the foundation for a flawless color wash finish. Begin by thoroughly cleaning the surface to remove any dust, grime, or grease that could hinder the paint’s adherence. This involves using a mild detergent solution and a clean cloth.
Once the surface is clean and dry, the next step is to sand it to create a smooth and uniform texture. Use fine-grit sandpaper in circular motions to remove any imperfections and rough patches, ensuring a seamless paint application.
After sanding, apply a quality primer or base coat to promote better paint adhesion and prevent the underlying surface from affecting the final color wash. This step is crucial for achieving a professional and long-lasting result.
Applying the Base Coat
Achieve the desired texture and smoothness by expertly mixing and applying the base coat with precision and care.
Regarding mixing the base coat, it is crucial to follow the instructions carefully to get the right consistency. Start by pouring the specified amount of base coat into a clean container.
- Use a stirring stick to ensure the pigment is evenly distributed in the paint.
- Slowly add a small amount of water while continuously stirring to achieve the desired thickness.
Once the mixture is smooth and free of lumps, you are ready to apply the base coat.
To achieve an even and consistent base coat, use a high-quality brush or roller.
- Apply the base coat in thin, even layers to avoid streaks or clumps.
- Work methodically, covering the entire surface with smooth, overlapping strokes.
Pay attention to areas that might need extra coverage to ensure a flawless foundation for the subsequent color wash technique. With patience and attention to detail, your base coat will provide the perfect canvas for your decorative finish.
Mixing and Applying the Base Coat
The key to a successful color wash lies in the meticulous mixing and precise application of the base coat, ensuring a smooth and flawless foundation for the subsequent layers of color.
To achieve the perfect base coat, start by selecting a high-quality paint suitable for the project. It is recommended to pour the paint into a clean container to avoid any impurities that could affect the final finish. Use a stirring stick to gently blend the paint, ensuring an even consistency throughout. Add small amounts of water or a paint conditioner if needed, adjusting until you reach the desired smoothness.
When applying the base coat, use a high-quality paintbrush or roller for a professional finish. Begin by evenly spreading the paint in long, smooth strokes, working in manageable sections to maintain consistency. Ensure the surface is clean, dry, and properly primed before applying the base coat to achieve optimal adhesion.
Creating the Color Wash Effect
Unleash your artistic flair by skillfully preparing and applying the color wash to create mesmerizing textures and hues.
Start by selecting your desired colors and mixing them in varying ratios to achieve the desired shade intensity and depth. Experiment with different brushes or sponges to apply the color wash – this will help you create unique textures and patterns on your canvas or surface. Remember to work in layers, allowing each layer to dry before applying the next to avoid muddying the colors. Gradually build up the wash to achieve a seamless blend of colors for a visually captivating result.
Preparing and Applying the Color Wash
The magic of the color wash effect unfolds through meticulous preparation and skillful application, allowing for the creation of captivating textures and visual depth.
Preparing the color wash involves an intricate dance of selecting the right hues and mastering the art of blending. Each pigment must harmonize seamlessly to achieve the desired tone and intensity. Experimentation with various color ratios adds layers of complexity and richness to the final result.
- Delicately adjusting the opacity and transparency of each color is crucial in achieving depth and dimension.
- Applying the color wash demands a gentle hand and a keen eye, as each stroke contributes to the overall composition.
Finishing Touches and Clean Up
Complete your color wash masterpiece with finesse by adding the finishing touches and ensuring a thorough clean-up for a polished final look.
Once the color wash has dried completely, it’s time to apply the final coat. Use a clean brush or sponge to gently add the final layer, ensuring smooth and even coverage. To enhance the finish, consider adding metallic accents with a light hand for a touch of shimmer. You can also experiment with stencils or masks to create unique patterns.
After completing the final coat, it’s crucial to clean up properly. Rinse your roller or brush with warm, soapy water until the water runs clear. Wipe down your workspace, ensuring all tools are cleaned and stored properly for future use. Keeping a tidy workspace not only extends the life of your tools but also sets the stage for future creative endeavors.
Touching Up Edges and Cleaning the Roller
For a flawless finish, pay attention to touching up edges with precision and ensure the roller is thoroughly cleaned to avoid any color contamination.
When touching up edges, consider using a high-quality brush dipped in the same paint to maintain consistent coverage. Ensure the brush is clean and free from any dried paint residue to prevent streaking or uneven application.
Proper roller cleaning is essential to prevent color mixing and contamination. Begin by removing excess paint by rolling it on a disposable surface. Then, rinse the roller with warm, soapy water until the water runs clear. Allow the roller to dry completely before storing it.
Tips for a Successful Color Wash
Enhance your color wash project with expert tips and techniques to ensure a smooth application and flawless finish in every area.
Before diving into the color wash process, it’s crucial to prep the surface properly. Make sure to clean the surface thoroughly to remove any dirt or debris that could affect the paint’s adhesion. Fill in any cracks or holes and sand down rough patches to create a smooth canvas for the wash.
Regarding application, use long, even strokes to apply the paint in a consistent manner. Allow each layer to dry completely before adding subsequent coats to prevent streaks and uneven color distribution.
For optimal results, experiment with different washing methods such as rag rolling, sponging, or stippling to achieve unique textures and depth in your color wash. Remember, practice makes perfect, so don’t be afraid to try out various techniques on a sample board before tackling your project.
Choosing Complementary Colors and Applying Second Coat
Elevate your color wash technique by selecting complementary hues and mastering the art of applying a second coat for added depth and vibrancy.
Choosing the right complementary colors is crucial in creating a harmonious and visually appealing color wash effect. By understanding color theory and how different shades interact, you can enhance the overall aesthetic of your project.
When applying the second coat, ensure that the first layer is completely dry to avoid blending the colors unintentionally. This additional layer not only intensifies the colors but also adds texture, resulting in a more dynamic finish.
To achieve depth and visual interest, consider experimenting with techniques like layering, blending, or stippling. These advanced methods can create a multi-dimensional effect that captures the eye and adds sophistication to your work.
Common Mistakes and Avoidance
Learn to steer clear of common mistakes like overloading the roller and improper cleaning techniques to ensure a flawless color wash application.
Regarding color wash projects, one of the biggest pitfalls to avoid is overloading the roller with paint. This can lead to an uneven application, drips, and streaks, resulting in a less than desirable finish. To prevent this, make sure to lightly saturate the roller with paint and gradually build up the layers for a smooth and consistent color wash.
Another crucial aspect is proper cleaning practices. If the painting tools are not cleaned thoroughly after each use, residue can build up and affect the outcome of future projects. Take the time to clean your rollers and brushes properly with the appropriate cleaning solutions for a pristine finish every time.
Avoid Overloading and Improper Cleaning of the Roller
To prevent issues during your color wash project, avoid overloading the roller with excessive paint and ensure proper cleaning practices to maintain the tool’s effectiveness.
Overloading the roller with too much paint can lead to uneven application, drips, and streaks on your walls, creating an unprofessional finish. It can also strain your arms and wrists, causing fatigue during the painting process.
Properly cleaning the roller after each use is crucial to prevent dried paint buildup, which can clog the fibers and affect paint distribution. Use warm, soapy water to thoroughly clean the roller, ensuring all paint residues are removed.
Consistent care and maintenance of your painting tools are essential for achieving smooth and flawless color wash results. By following these tips, you can enhance the longevity of your roller and achieve professional-looking paint finishes.
Advanced Techniques for Color Wash
Delve into advanced techniques for color wash projects by exploring diverse tools and methods to create captivating textures in various areas of your space.
One innovative method involves using unconventional tools such as sponges, crumpled plastic wrap, or even natural sea sponges to apply the paint in a more organic and irregular pattern, adding depth and dimension to your walls or furniture.
Experimenting with different dilution ratios and layering techniques can further enhance the richness of the colors and create a stunning visual impact in your living room, bedroom, or any other space you wish to transform.
Creating Texture and Using Other Tools
Elevate your color wash projects with innovative techniques for creating texture and utilizing a variety of tools to enhance different areas with artistic flair.
One essential tool in this process is the dry brush technique, which involves using a brush with very little paint to add subtle highlights and accentuate raised areas.
Layering different colors with this method can create a sense of depth and richness on the painted surface.
Sponges are excellent for producing a mottled effect by dabbing or stippling paint onto the surface, perfect for mimicking natural textures like stone or brick.
By experimenting with brushes, sponges, and even unconventional items like plastic wrap or crumpled paper, artists can push the boundaries of traditional color wash applications.
Professional Help and Conclusion
For expert guidance and a refined finish, consider seeking professional help to elevate your color wash projects to the next level.
Professional assistance can make a significant difference in complex color wash projects by ensuring a precise and uniform application of colors. Experts have the knowledge and experience to recommend the right color combinations that will harmoniously blend and enhance your space’s aesthetic appeal. Professionals can offer innovative techniques and high-quality materials that may not be readily available to the average DIY enthusiast. By entrusting your project to skilled professionals, you can save time and effort while achieving impeccable results with a refined finish that surpasses expectations.
Frequently Asked Questions
Explore answers to common queries and gain valuable insights into the intricate art of color washing for your painting endeavors.
When diving into the world of color washing, it’s vital to understand the tools required for this technique. A few essentials include paintbrushes, paint rollers, paint trays, and cleaning supplies. These tools are pivotal in achieving the desired effect and ensuring a smooth application process.
Understanding the right type of paint to use is crucial. Acrylic paints are commonly used for color washing due to their fast drying time and ease of mixing. You can experiment with different types of paint to achieve various textures and finishes.
Frequently Asked Questions
1. What is a color wash and why is it useful for home painting projects?
A color wash is a painting technique that involves applying a translucent layer of paint over a base color to create a soft, washed-out effect. It is useful for home painting projects because it adds depth and texture to a surface, giving it a more interesting and professional look.
2. Can I use any roller for a color wash or do I need a specific type?
While any roller can technically be used for a color wash, it is recommended to use a roller with a medium to thick nap, as it will hold more paint and provide a smoother application. A foam roller can also work well for a color wash.
3. Are there any tips for preparing the roller before using it for a color wash?
Yes, it is important to dampen the roller with water before using it for a color wash. This will help the paint spread more evenly and prevent it from drying out too quickly.
4. How do I create a color wash using a roller?
To create a color wash using a roller, first apply a base coat of paint and let it dry completely. Then, mix a small amount of your desired color with glaze or water to create a translucent mixture. Dip the damp roller into the mixture and roll it onto the surface in a criss-cross motion until you achieve the desired effect.
5. Can I use a color wash on any surface?
A color wash can be used on most surfaces, including walls, furniture, and even floors. However, it is important to test the technique on a small, inconspicuous area first to ensure you are happy with the results.
6. How can I clean up after using a roller for a color wash?
After using a roller for a color wash, it is important to clean it thoroughly to prevent the paint from drying and ruining the roller. Rinse the roller with warm water and mild soap, then wrap it in a plastic bag or wrap to keep it from drying out until you are ready to use it again.